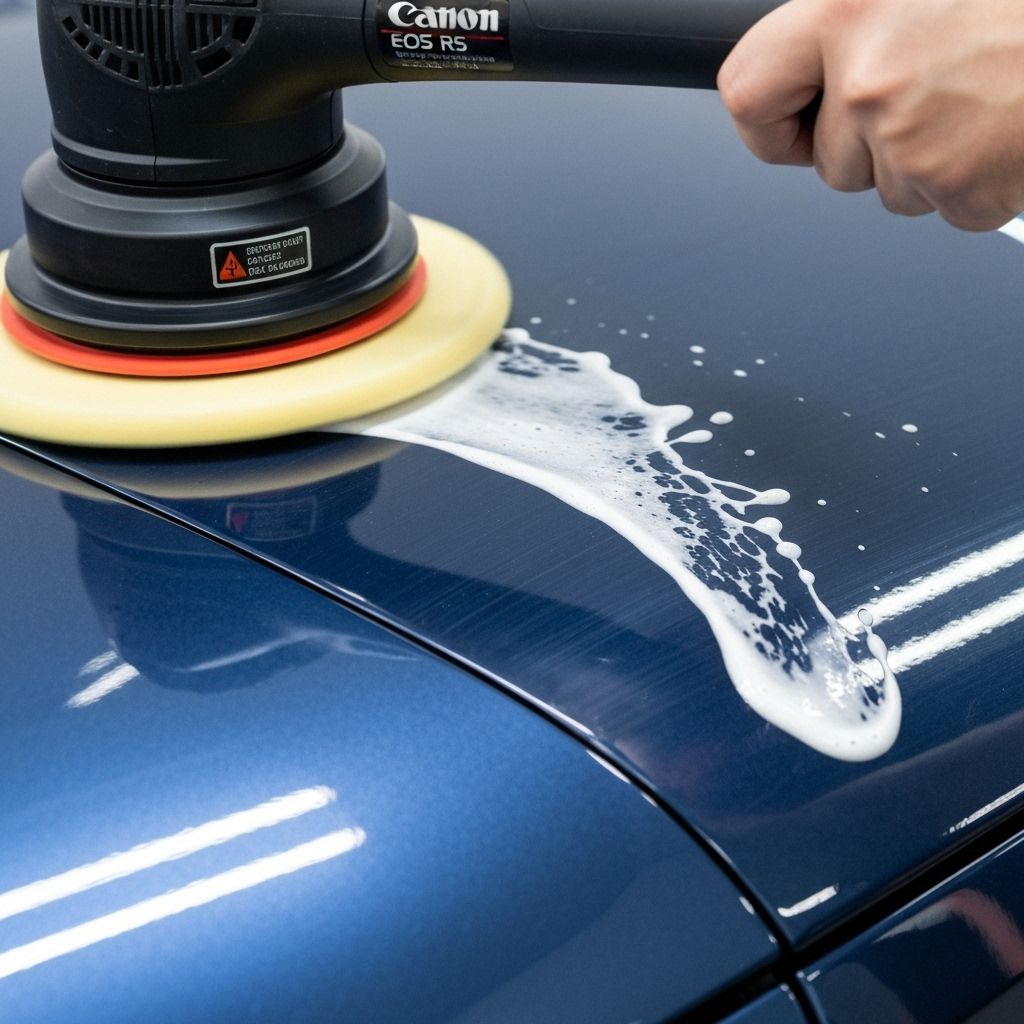
Paint Correction
What Happens During a Professional Machine Polish
From wash and decontamination to test spots, compounding and finishing, here is what a professional paint correction looks like step by step.
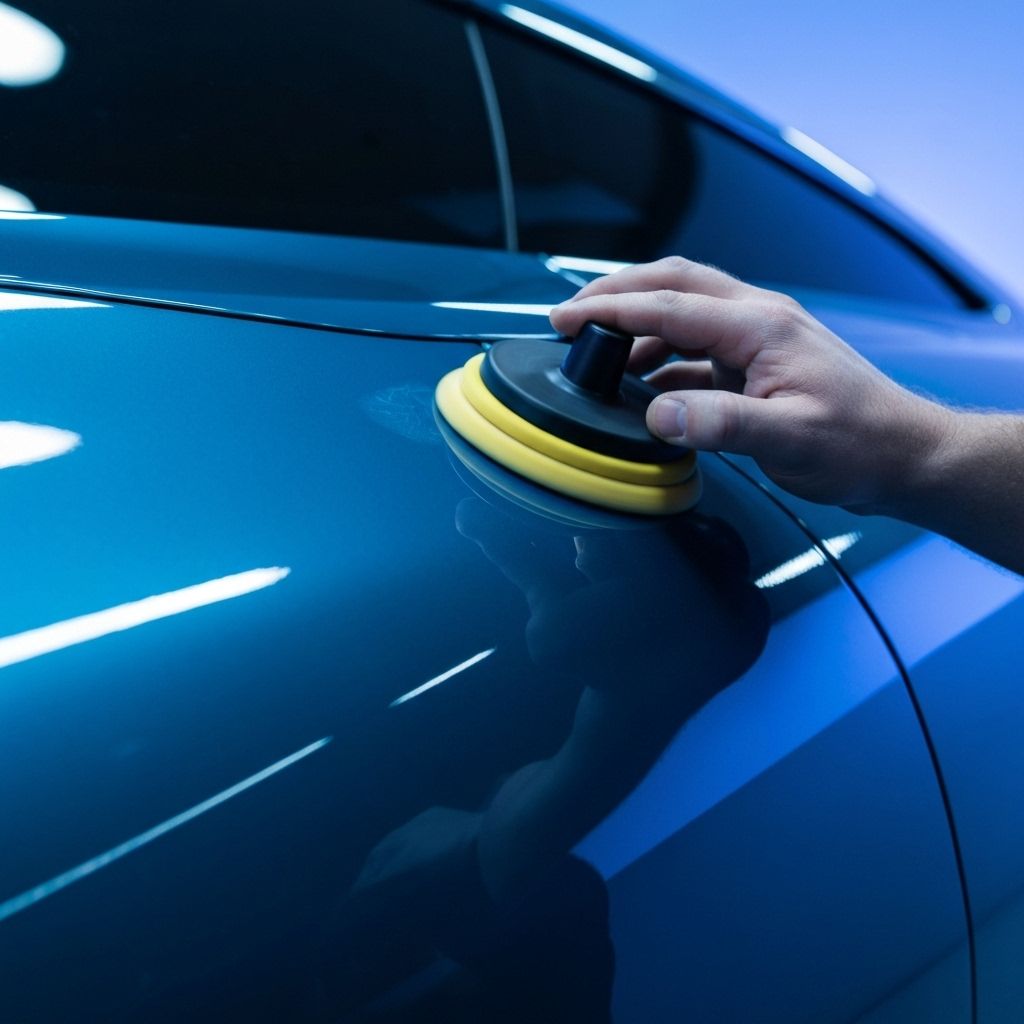
Paint correction can seem mysterious from the outside. A car goes in swirled and comes out looking like glass. Here is what actually happens in between, so you know what you are paying for.
1. A thorough wash
Polishing over dirt grinds it into the paint, so correction starts with a careful wash, including wheels, jambs and the lower panels.
2. Decontamination
An iron remover dissolves embedded metallic particles from brake dust and industrial fallout. A clay bar or clay mitt then removes remaining bonded contamination. The paint should feel glass-smooth before any polishing begins.
3. Masking
Rubber and textured plastic trim, badges and sensitive edges are taped off. Polish can stain trim, and edges have thinner paint that is easy to burn through.
4. Inspection and measurement
The paint is inspected under strong lighting to map defects. Many detailers also use a paint depth gauge to measure film thickness, which shows how much clear coat is available and flags previously repainted panels.
5. The test spot
On a small section, the detailer tries the least aggressive pad and polish combination first. If it removes enough defects, that becomes the plan for the car. If not, they step up. This protects the clear coat by never removing more than necessary.
6. Compounding (if needed)
Deeper defects are removed with a cutting compound and a firmer pad. This step levels the surface but can leave a slight haze of its own.
7. Polishing to finish
A finer polish and softer pad refine the surface, removing compounding haze and bringing out maximum clarity and gloss.
8. Panel wipe and protection
Polishing oils can hide remaining defects, so panels are wiped with an inspection spray to reveal the true finish. Then protection goes on: a sealant or, ideally, a ceramic coating to preserve the corrected paint.
A one-step enhancement on a daily driver may take most of a day. A multi-step correction on a dark, heavily swirled car can take two days or more. The time is in the details.